
 |
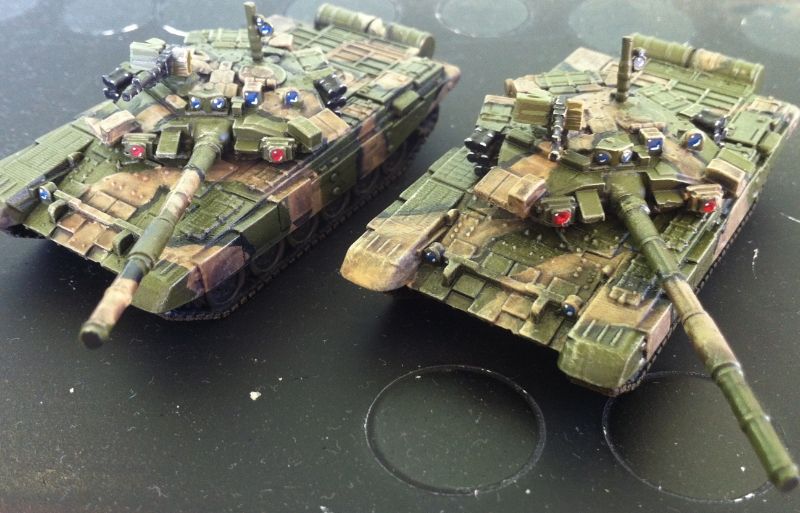
| I have your cat food right here. |
I thought painting tanks would be a fairly straightforward affair- after all, I see hundreds of them in Flames of War. Alas, it wasn't to be.
Can I say that I hate resin? I've been a plastics and metal guy my whole life and resin model prepping drives me bonkers. That aside, I shall detail my paint scheme so when I get around to having a third(!) for the platoon it will be consistent.
Stage I: Under coat in GW Chaos Black
Easy peasy lemon squeezy.
It was at this point I thought I'd be clever and make little snakes of old blu-tac to leave black tiger stripes for when I sprayed with Olive Drab. Long story short- don't do it. I had bits of blue tac left over when I tried to peel it off and paint flaked off the resin surface too!
Moral of the story: unless you have that proper tape stuff to mark out your cammo surfaces, just hand paint it!
Stage II: Base coat with Tamiya (spray can) Olive Drab 2
It looks like Russian armour green from FoW- though I don't have a colour chart. I'm just comparing with online pictures.
Stage III: Wash with GW Athonian Camo shade.
GW make some awesome washes don't they?
Stage IV: Light drybrush with GW Death World Forest.
I used a big brush which made it much less tedious!
Stage V: Paint the tan blobs in with watered down GW Zandri Dust.
I watered it down a bit too much and it ran everywhere and I lost my clear edges. Oh well!
Stage VI: Wash the tan bits with
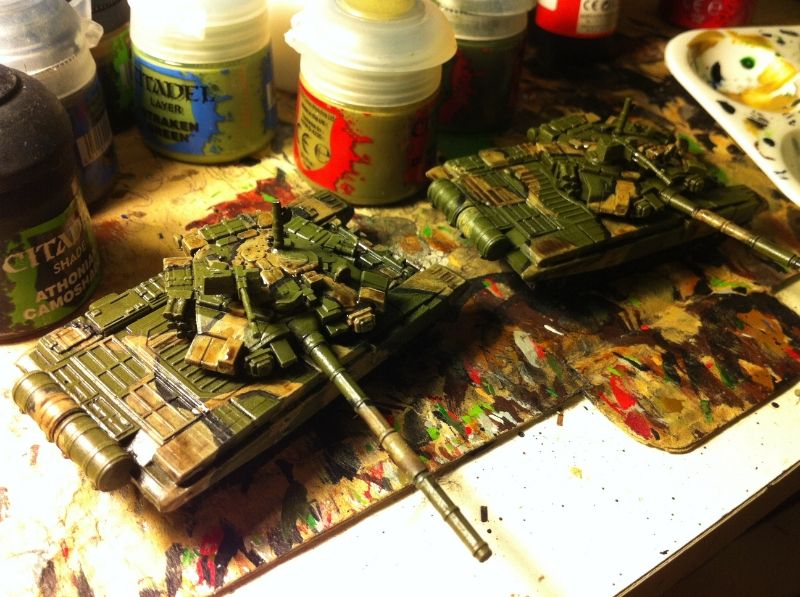 |
| Washed and waiting for dry brushing |
Stage VII: Drybrush tan bits with Vallejo Buff.
Stage VIII: Paint in black bits with Vallejo Black.
Stage IX: A VERY LIGHT drybrush of Vallejo Buff over the entire model. LIGHT!
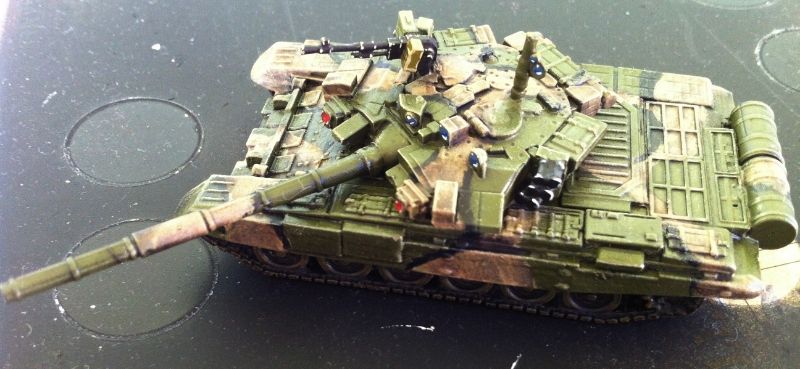
Stage IX: Detailing... which actually takes the longest!
GEMS aka Vision Blocks and Shtora (IR dazzlers)
BLUE
Base of Citadel "The Fang" on the lens. A half moon of Citadel Enchanted Blue in the bottom right hand third/ quarter of the lens. A very thin line of Citadel Ulthuan Grey in the bottom right hand quarter of the Enchanted blue bit. A single white dot in the upper right corner of the lens.
RED
Super similar to above, except the base is Citadel "Khorne Red". And the half moon is Citadel Evil Sunz Scarlet.
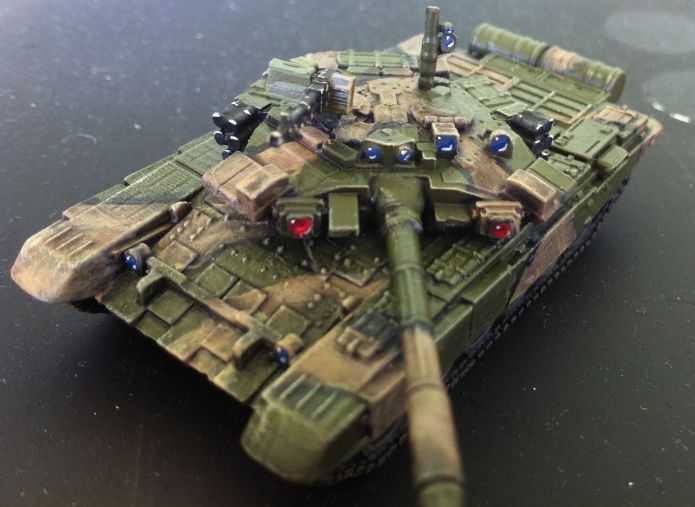 |
| Gems are on display |
12.7mm machine gun was painted in black and then.... well, I tried a few methods. One, I highlighted just with Vallejo Buff. It's simple but the weapon looks dirty! Two, I tried to highlight with just white- terrible- it looked like a dalmation dog. Three- highlight with a dark grey (Citadel Eshin Grey) and then a teeny highlight of white.
The Smoke launchers I did the same way.
The ammo bin I painted with Citadel Death World Forest and highlighted with Straken Green.
The shell casings catch bag I painted with Vallejo English Uniform with a highlight of Citadel Zandri Dust.
Tracks
Road wheels in Citadel Castellan Green and washed with Athonian Camo Shade. Tracks touched up with black and then dry brushed (lightly) with Citadel Snakebite Leather.
Then the tracks and wheels had some Tamiya Weathering stick residue applied with a throwaway brush.
I wasn't that enthusiastic with the weathering as I am worried it will fall off the model (I don't think I'll base it).
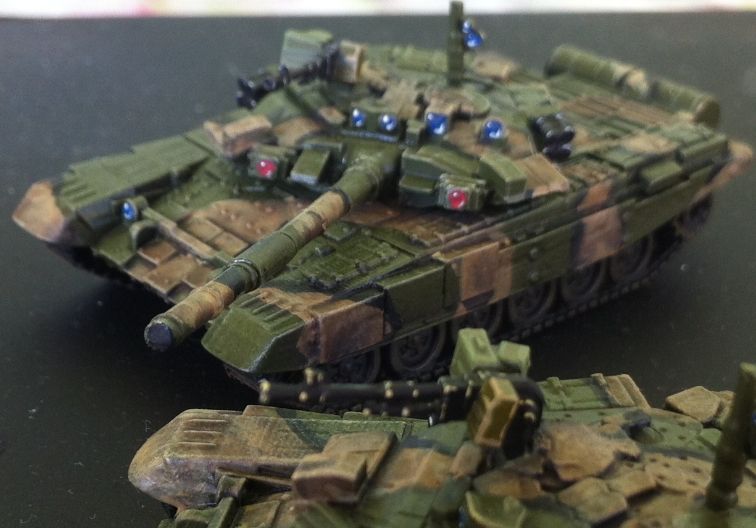 |
| Buff 12.7mm vs Grey/white 12.7mm. |
I just need to varnish them (and hope I don't destroy them in the process!)
Thanks for reading and Happy Gaming!
 |
| I left that can of cat food over there, I think.... |
Pretty solid painting I must say. Nice models.
ReplyDeleteCheers!
Delete